Contents
1.Start With the Rack Task, Not the Ceiling
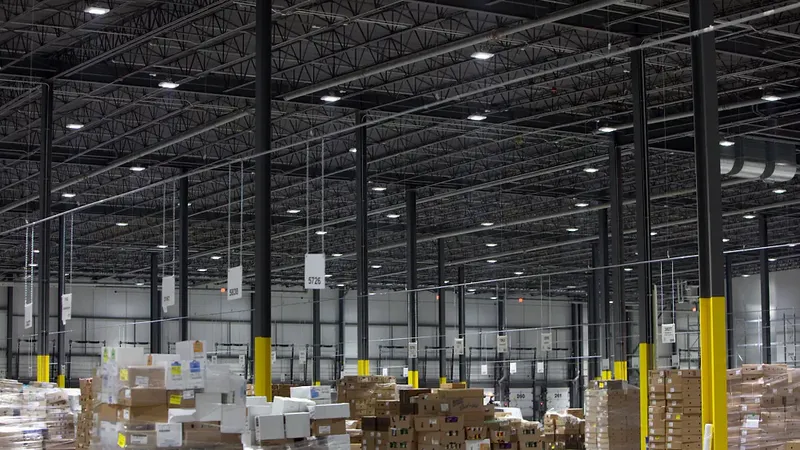
A warehouse floor can look bright while a picker still struggles to read a rack label. The label faces the aisle, but the floor faces upward. Light that helps one surface may contribute less to the other, and loaded racks can block paths that look clear in an empty building. Choosing warehouse high-bay optics therefore starts with the actual picking and movement tasks.

Imagine replacing old lamps without changing their positions. A wider beam may light more floor, yet leave lower shelves in shadow. A narrower beam may create bright pools with weak gaps. The CPS high-bay selection guide provides general context; the aisle design still needs rack dimensions, mounting positions and the receiving surfaces that matter.
2.Read Beam Width as Geometry, Not Guaranteed Lux
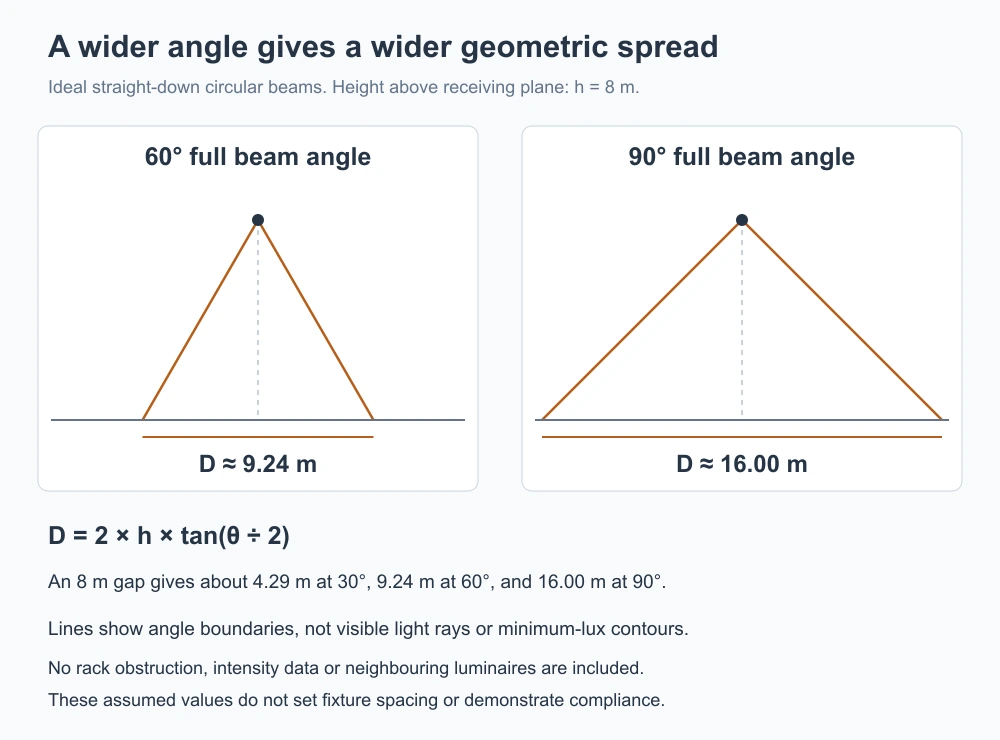
IES defines beam angle using directions at half the maximum luminous intensity. That boundary is not a minimum-lux contour, and light does not stop there. For a circular beam aimed perpendicular to a level plane, D = 2 × h × tan(θ ÷ 2) estimates its geometric diameter. Here h is the gap above that plane, not automatically the ceiling height.
At an assumed h of 8 m, 30°, 60° and 90° produce diameters of about 4.29 m, 9.24 m and 16.00 m. A luminaire 9 m above the floor and a 1 m-high work plane give this 8 m gap. These numbers describe geometry only. The beam-angle coverage guide explains why intensity, distance and overlap still determine usable light. A footprint crossing a rack does not prove that its lower labels receive enough illumination.
3.Compare Across-Aisle and Along-Aisle Spread
A long aisle has two different dimensions. A distribution that is narrow across the racks but broader along the route may use light more effectively than a circular spread, provided the selected optic supports that pattern. Read both principal photometric planes and their orientation. Confirm the housing reference that identifies the long optical axis before installation. A narrow round beam is not automatically an aisle optic, and rotating an oval distribution can change which surfaces receive its stronger light.
Wider optics can suit open staging areas where there are fewer tall obstructions and neighbouring luminaires can overlap. Narrower optics can be useful for longer throws, but poor spacing can create sharp changes between bright and dark areas. Hold output, maintenance assumptions and task criteria constant for the first comparison. Use the table as a starting point, not a rule that assigns one beam angle to every mounting height or aisle width.
4.Model Loaded Racks and Verify Both Planes
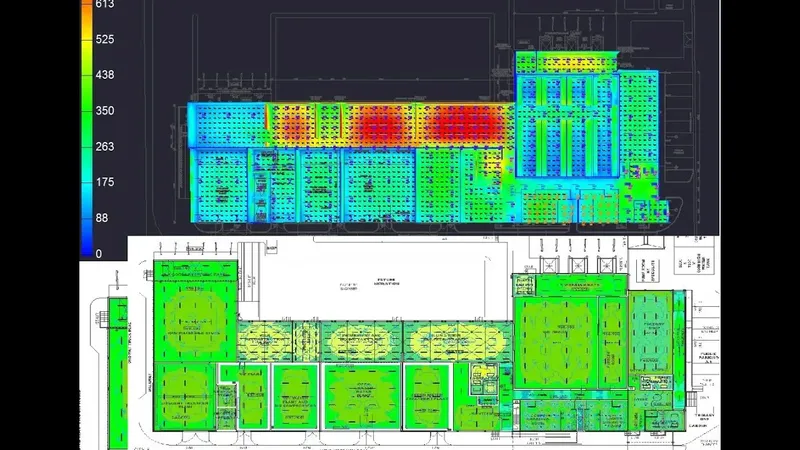
Build the photometric model with rack heights, aisle widths, loaded shelf geometry and credible surface reflectances. Import the exact IES/LDT variant and check its orientation. Calculate the required horizontal work plane and vertical rack-face illuminance at relevant shelf heights. Compare point values and uniformity on each surface instead of judging rendering brightness or one whole-warehouse average.
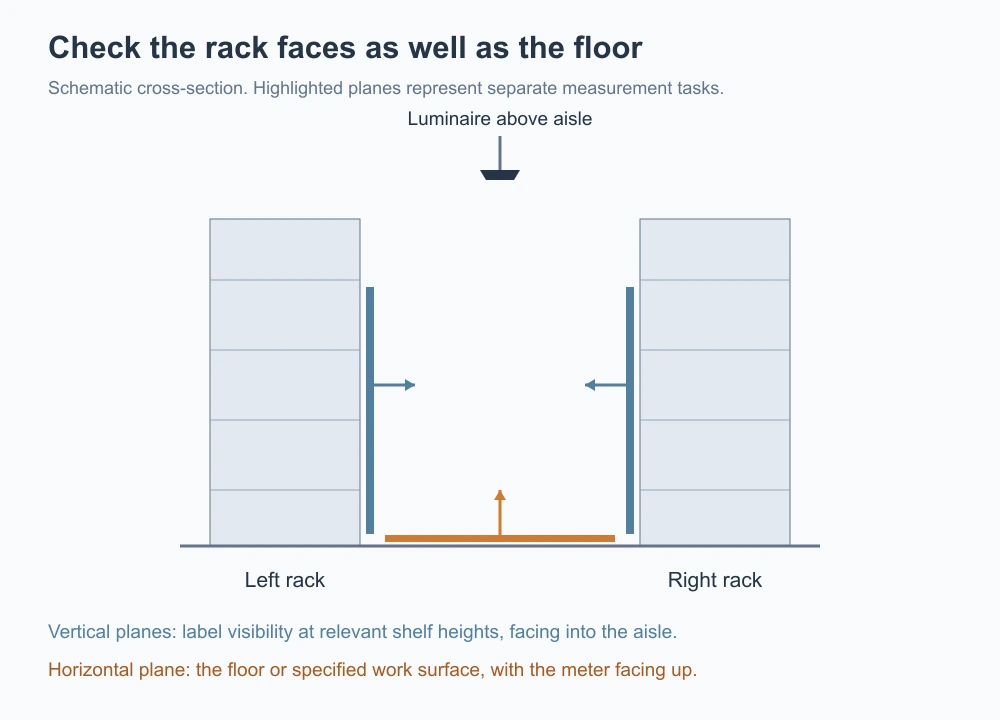
AGi32 documentation distinguishes calculation-surface position from meter orientation. Keep those definitions consistent during site checks. The UK HSE lighting guidance also highlights vehicle obstruction and driver dazzle. Review normal forklift sightlines, then confirm light levels with calibrated equipment under the agreed operating scene. Any dimming or occupancy settings must preserve the required visibility while people are working.
Record Eavg and Emin for each task zone, and define the Emin/Eavg ratio explicitly.
Inspect upper and lower rack positions, aisle ends and the gaps between neighbouring fixtures.
Retest affected zones after changing the optic, orientation, spacing or control scene.
5.Select a Documented Configuration, Then Check It
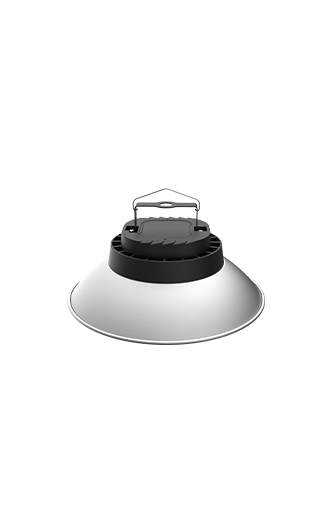
The CPS Bright Moon high-bay page lists 60°, 90° and 120° options. Those are candidates for comparison, not proof of a dedicated aisle distribution. Ask for photometry matching the exact ordered configuration before choosing one. A product family name, lumen total or beam label cannot demonstrate rack-face performance in your building.
The CPS Shenyang exhibition-centre case describes 17 m ceilings and 50 m structural spans. It is an open exhibition-hall retrofit, not a warehouse rack trial, so its reported outcome cannot validate narrow-aisle optics. The useful lesson is to match the distribution to the space. For a warehouse lighting review, send rack sections, picking heights and proposed mounting positions before comparing fixture counts.
6.Technical Sources
Keywords: warehouse high-bay optics, narrow vs wide beam, warehouse aisle lighting, high-bay beam angle, vertical illuminance, rack-face lighting, photometric simulation, lighting uniformity.